
Create, find, and manage plans
Create a plan for a day, find it again on the plans list, find your way around the plan page, and edit, duplicate, delete, or restore a plan.
A plan is one day of deliveries: the stops, the routes the optimizer builds from them, and their status as the day goes on. Everything else in Routerra Teams happens inside a plan, so it's worth knowing how to create one, find it again, and keep the list tidy.
Create a plan
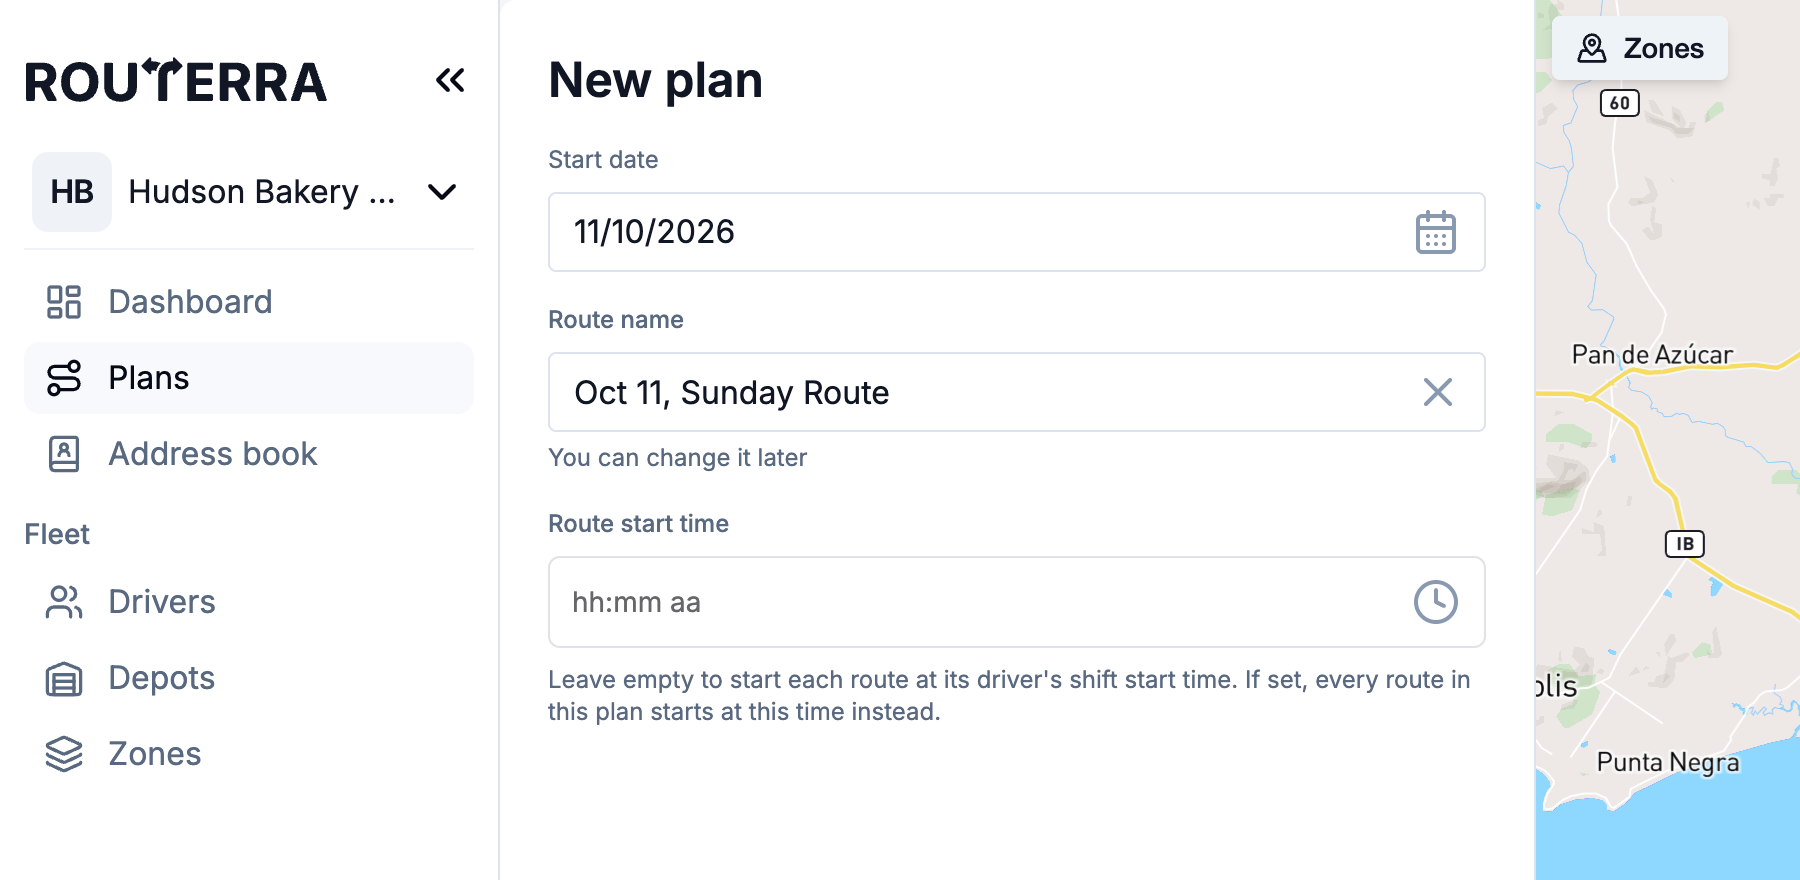
Press New plan in the sidebar or on the dashboard, or Create plan on the plans list. The form asks for three things:
| Field | What to enter |
|---|---|
| Start date | The day the plan is for. |
| Route name | Filled in from the date (for example "Oct 14, Tuesday Route"). "You can change it later." |
| Route start time | Optional. "Leave empty to start each route at its driver's shift start time. If set, every route in this plan starts at this time instead." |
Press Create plan and the new plan's page opens, ready for stops. Next: Import stops.
The plans list
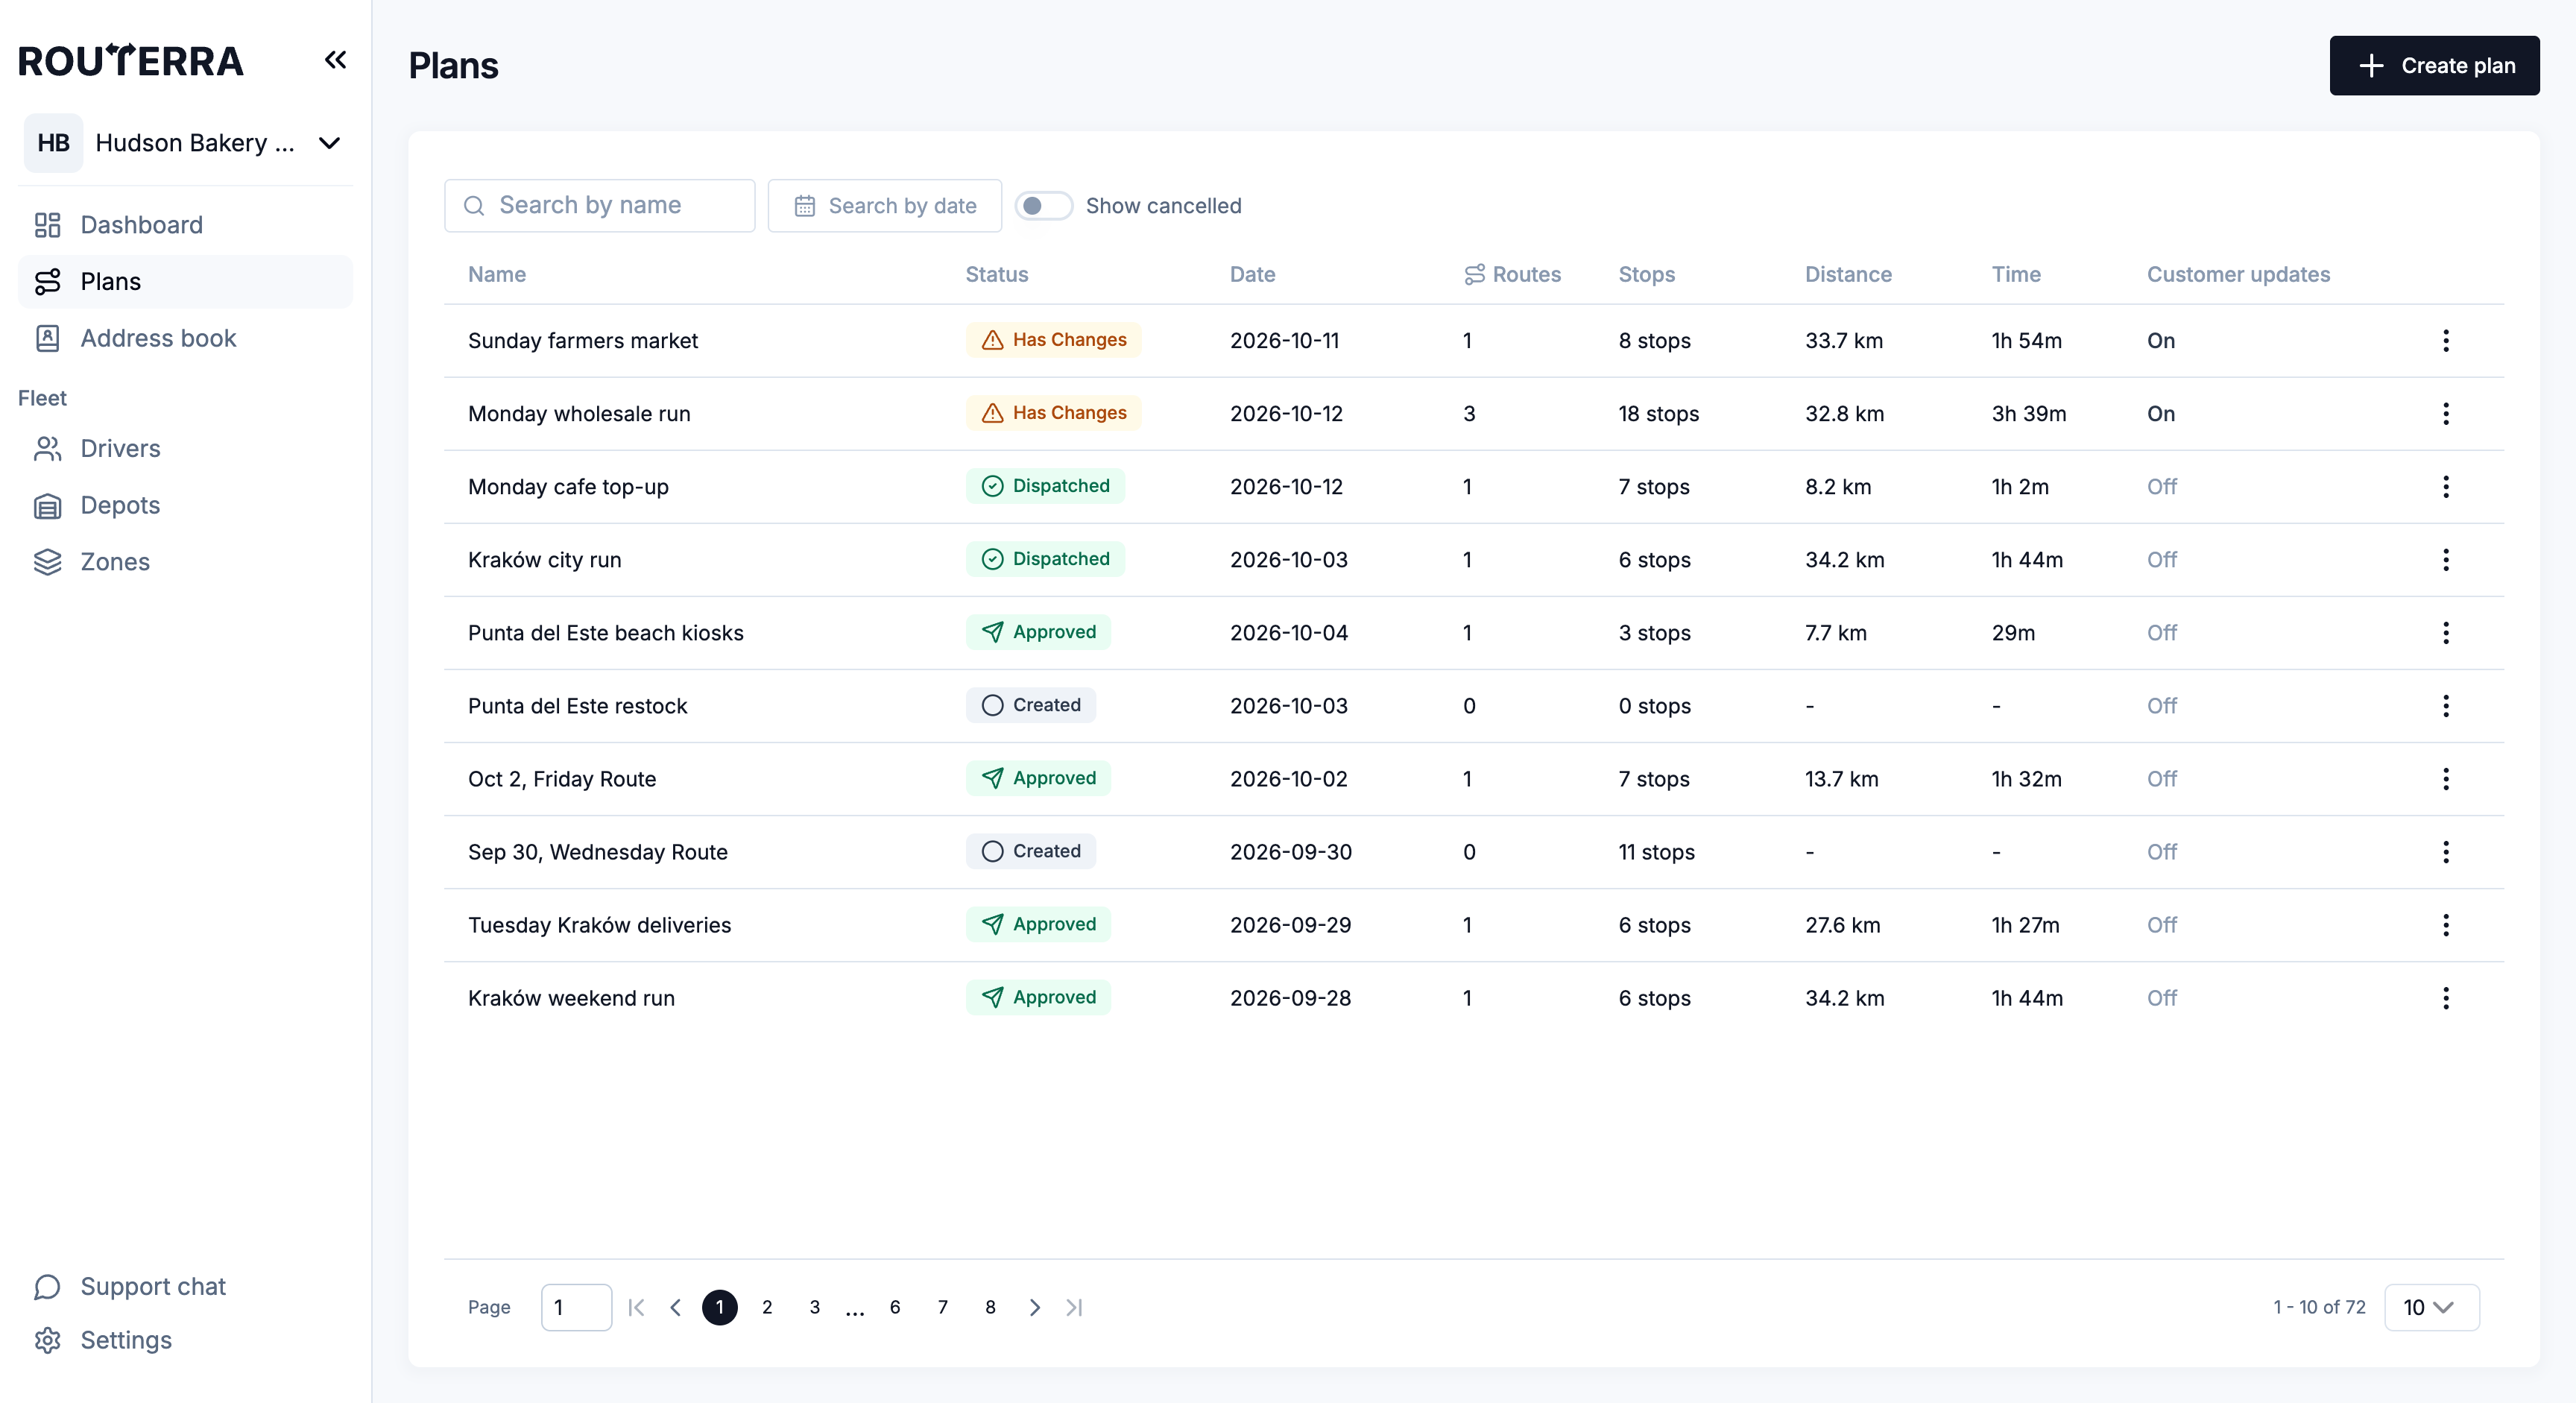
Plans in the sidebar lists every plan on your team. Above the table:
- Search by name — type part of a plan's name.
- Search by date — pick a day in the calendar to see only that day's plans; Clear date removes the filter.
- Show cancelled — cancelled plans are hidden from the list until you switch this on.
Each row shows the plan's name, Status, date, routes, stops, distance, and time, plus a Customer updates column (On or Off) that tells you whether customers on this plan get delivery updates. It's read-only — Routerra sets it from the stops: a plan is on as soon as any one of its stops carries a customer email or phone, whatever your team's channel settings (Customer notifications). Click a row to open the plan; the More actions (⋮) menu at the end of the row holds Edit, Duplicate, History, and Delete.
For what each status means, see Statuses reference.
The plan page
Open a plan and you get three areas:
- The header — the plan's name and status, then its totals: routes, stops, distance, and time. When an AI assistant has proposed a change to this plan, a Pending changes chip appears here too (Proposals). On the right: More actions and Edit.
- The side panel with two tabs:
- Stops — Import Stops, the Add stop by address field, the stop list, and Assign drivers & optimize at the bottom.
- Routes — one row per driver's route, Unassigned Stops if any, and Send routes to drivers or Revoke from Drivers at the bottom.
- The map — every stop and route, with the toolbar for layers, Refine, and lasso select.
Use Search stops by name, address or note at the top of the panel to find one stop in a long plan; the panel shows how many stops match.
Edit, duplicate, history, delete
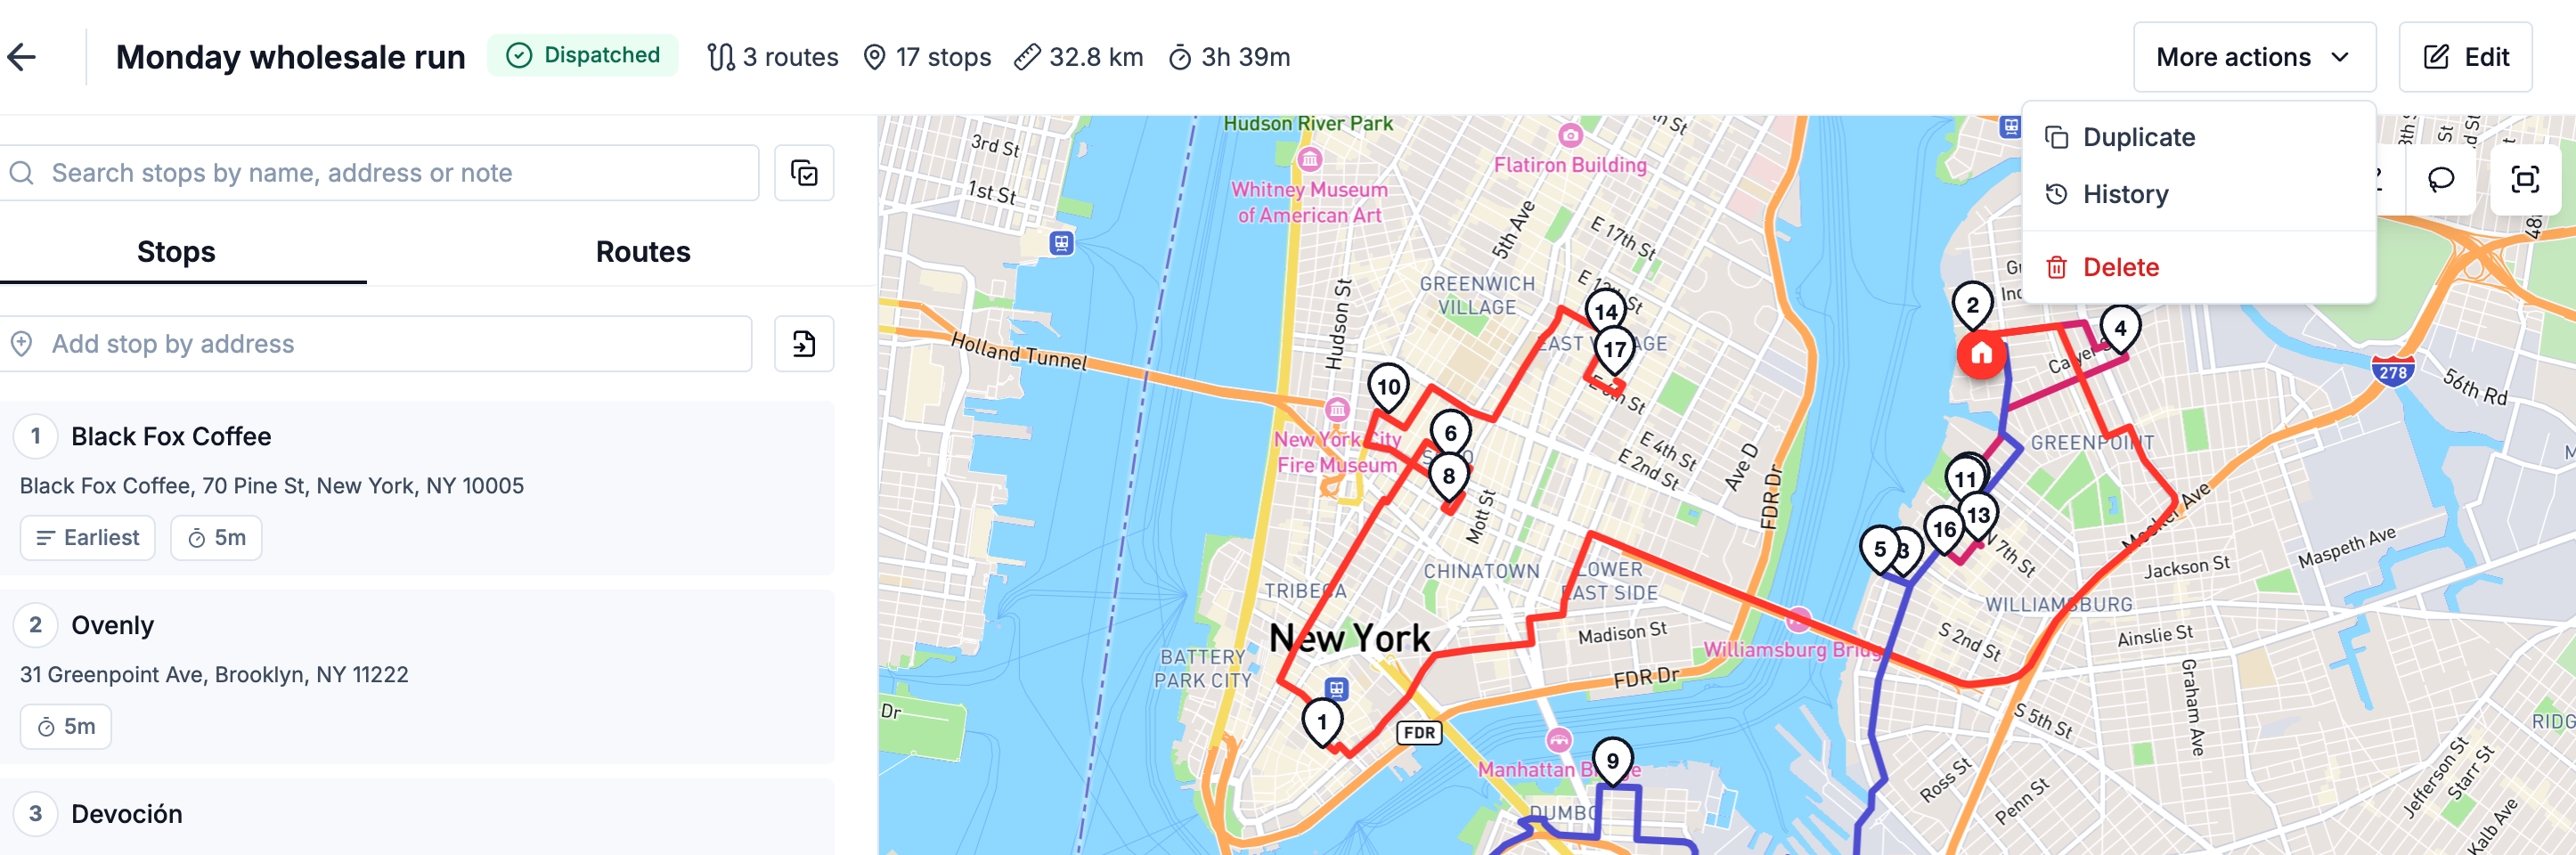
On the plan page, Edit is its own button; More actions holds the rest. On a narrow screen, all four sit in the ⋮ menu.
- Edit — change the plan's name, date, or route start time.
- Duplicate — copy the plan's stops into a new plan for another day. See Duplicate a plan.
- History — the plan's activity: who created, imported, optimized, sent, or changed it, including changes drivers made in the app. See The Activity log.
- Delete — removes the plan after a confirmation: "Are you sure you want to delete this plan? This action cannot be undone."
Cancelled plans and Restore
A plan can be cancelled through the public API or by applying an AI assistant's proposal. There's no Cancel button in the web app. Cancelling removes the plan's routes but keeps its stops.
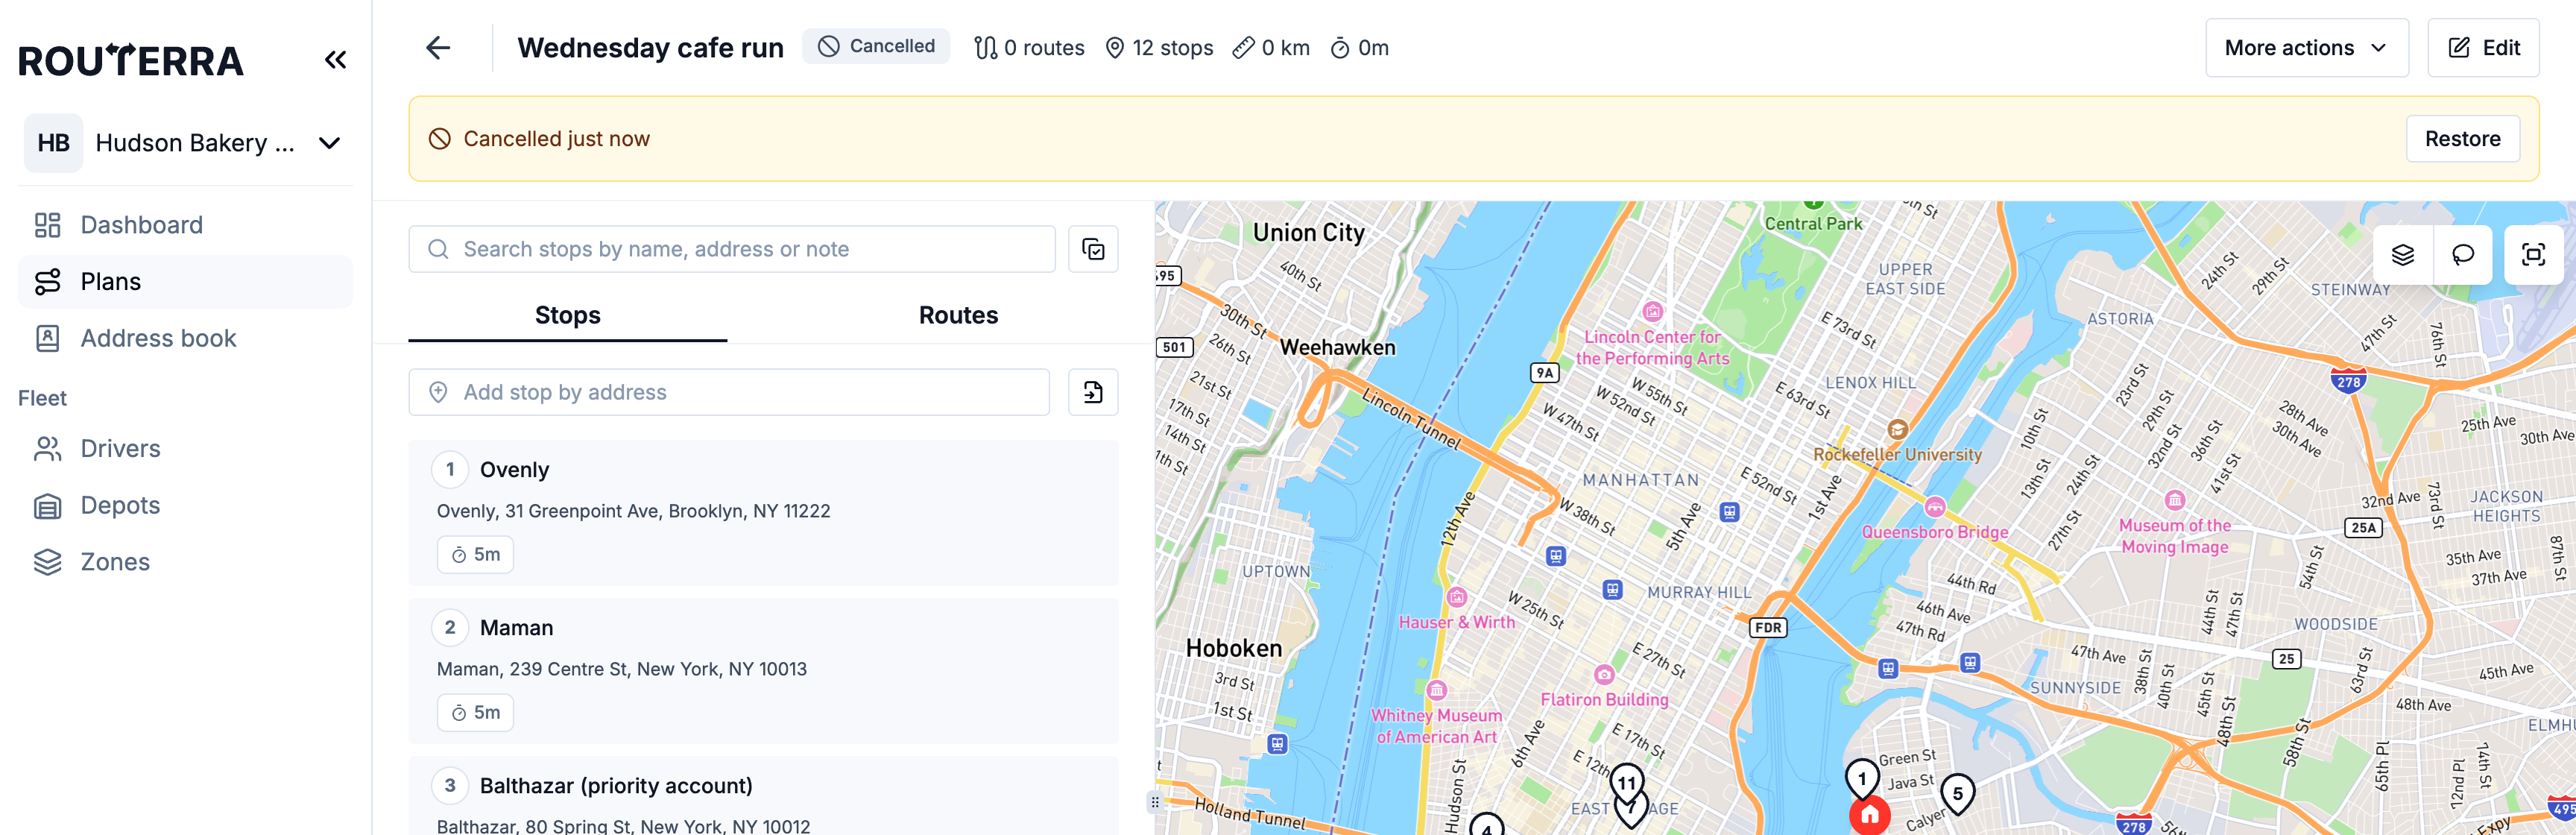
A cancelled plan disappears from the plans list unless Show cancelled is on. Open it and a banner says when it was cancelled, with a Restore button that brings the plan back. Team owners and managers can restore a plan.
A restored plan always comes back as Created, with its stops but no routes — the routes were removed when it was cancelled, so run Assign drivers & optimize again before you send it.
What's next
- Import stops — fill the plan
- Assign drivers and optimize — turn stops into routes
- Duplicate a plan — reuse a plan for another day